Tri-Layer Mochi Dessert Recipe
Mochi is a unique dessert that is sure to have a memorable taste. If you are looking for a fun dessert to make Mochi is the way to go! In recent years I have noticed Mochi becoming increasingly popular. I’ve seen mochi ice cream balls now sold as a frozen dessert in most grocery stores. I’ve also seen mochi offered as a topping at most frozen yogurt shops. What most people don’t know is that before mochi ice cream, there was just plan Mochi, an arguably better way to enjoy mochi. This recipe will help you enjoy mochi in its original form. Well, as far as I know it’s original form.
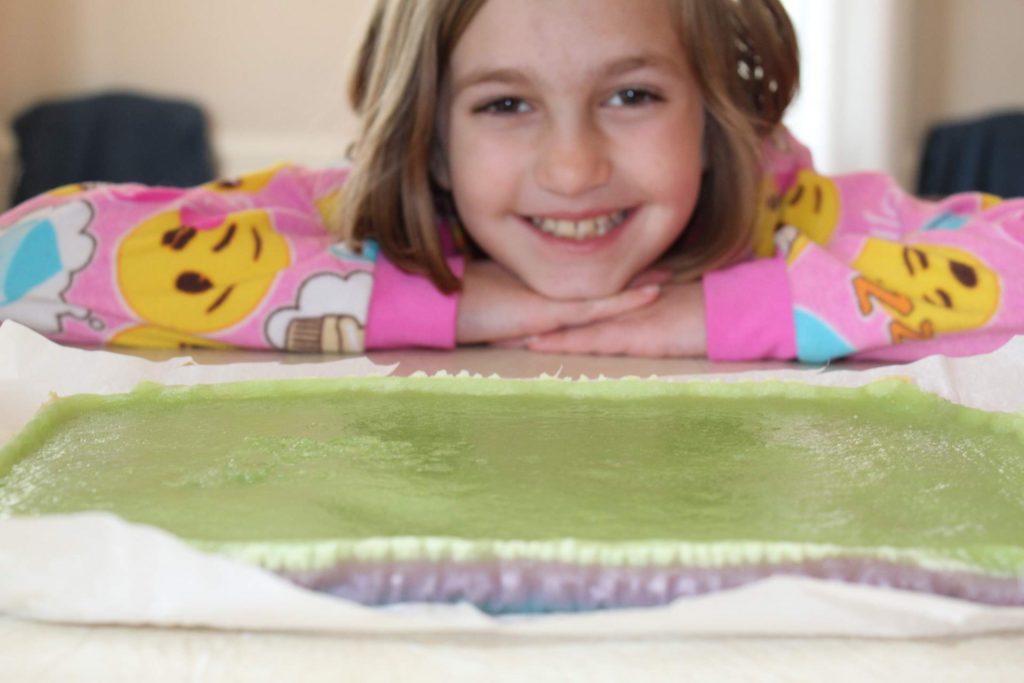
Mochi has always been one of my favorite desserts. Growing up I had a babysitter who introduced it to me and ever since then I’ve loved it. My entire family has claimed this dessert as one of our favorites. It has become a fun dessert to introduce other people to. This recipe was my go to birthday treat in school. I enjoyed sharing it with other people, mainly because watching people try it is so entertaining. This dessert appears to be a sour gummy dessert when in reality it’s a sweet chewy dessert that likes to catch people off guard. Although it is entertaining to watch people try, eating it for yourself is much more enjoyable.
Making the Mochi
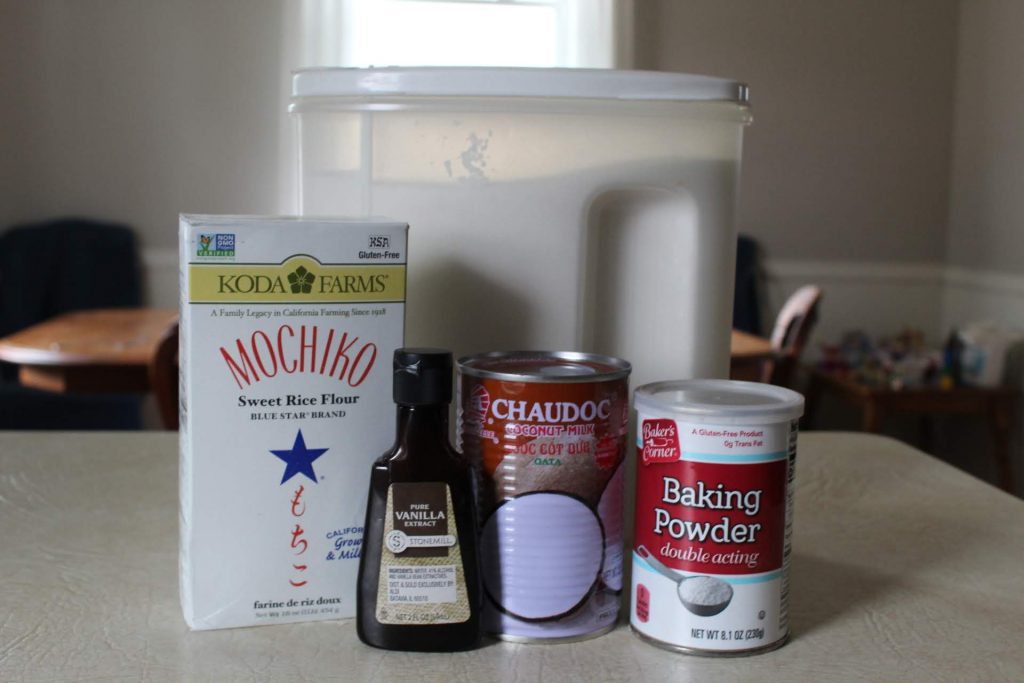
There aren’t many ingredients that go into making mochi but the few ingredients needed are ones that may require a trip to the store. Mochiko flour is the hardest ingredient to find but will most likely be at the nearest Asian food store. If you don’t live near an Asian food store Amazon sells Mochiko flour in packs of 3.
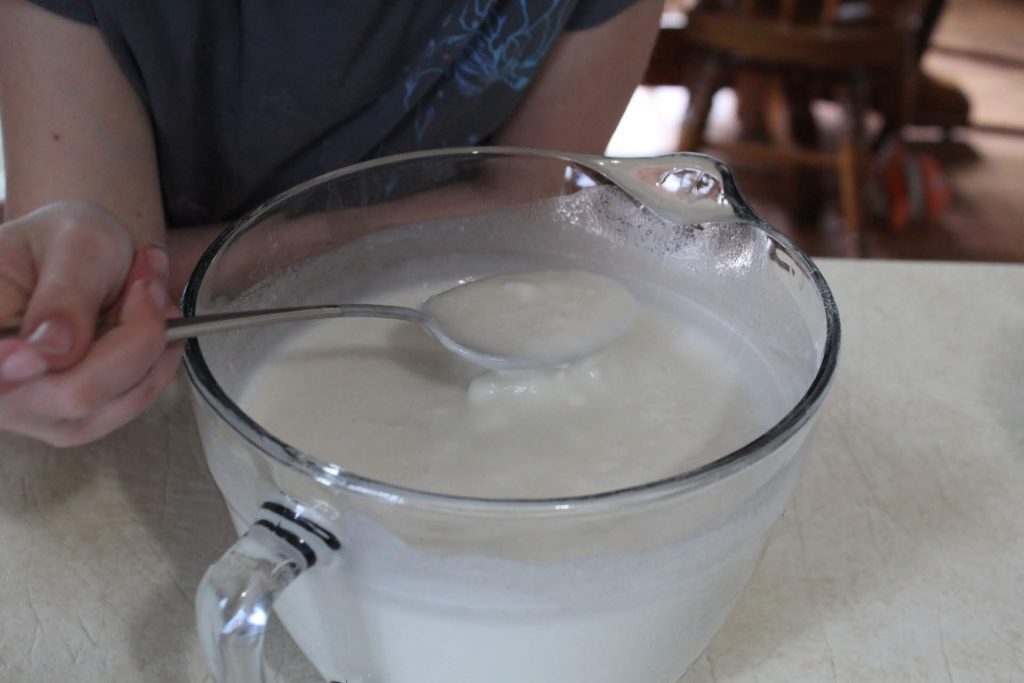
When my sister and I made this we combined the dry ingredients to the wet ingredients too quickly which led to multiple lumps in the consistency. I would recommend NOT following in our footsteps and instead SLOWLY add the two bowls together. The appropriate consistency should be smooth and thicker then milk but thinner then a milkshake. If you do find lumps in the consistency as we did, DON’T PANIC. We simply had to take a spoon and squish as many lumps as possible (which did get annoying pretty quickly, but the end result still tasted great)!
My sister and I also never fail to make a mess in the kitchen and when we divided the mixture into three parts of 2 cups we made a big mess. I’m talking large drips down the side of the bowl and all over the counter. But hey, that’s part of the baking process right? Making a mess. On the flip side, if you have any advice for pouring in a non-messy way let me know… I will appreciate any tips!
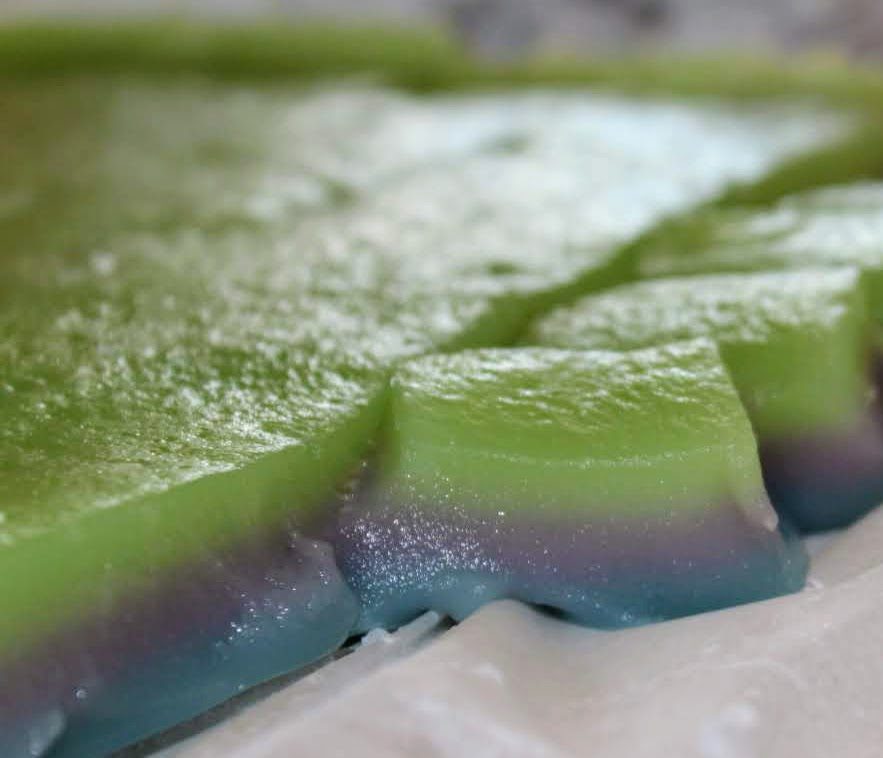
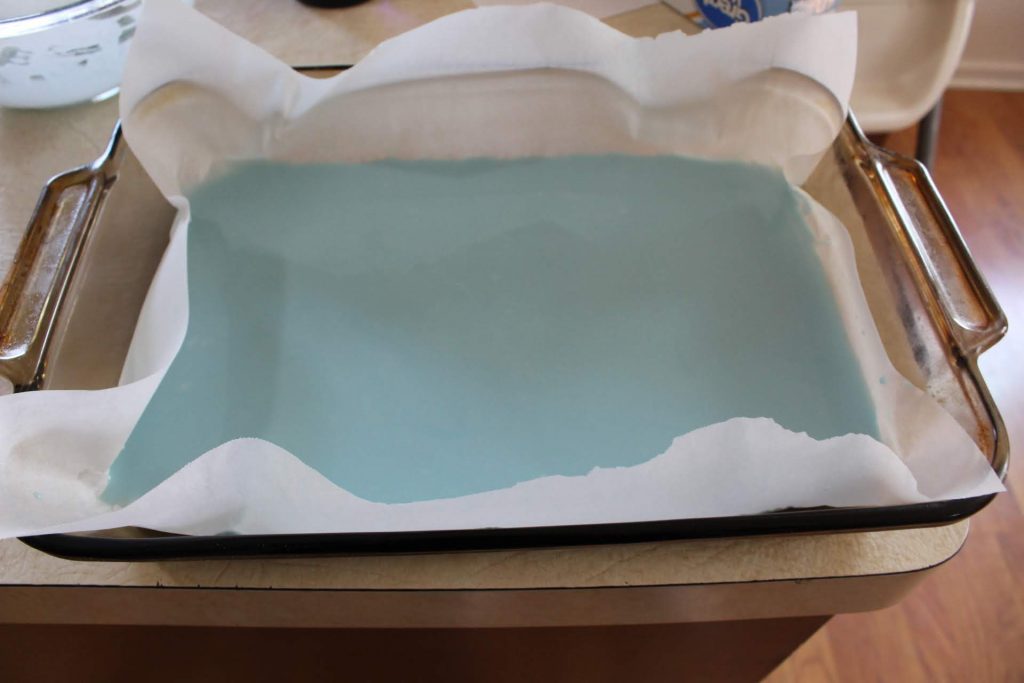
One of my favorite steps is picking the colors. Green, blue, and red are the most common choices but feel free to mess around with color options! In this case, my sister picked the colors and they turned out pretty cool. When pouring the first layer try to get it as close to the edge as possible… I struggled with this a little bit as the Parchment paper left wrinkles in my Mochi, but DON’T worry it does not affect the taste at all ;). I highly recommend using parchment paper because it makes the cutting process a whole lot easier. If you don’t have any just grease up the pan as much as possible. I would also be mindful of what order you want the colors to be when you cut the Mochi.
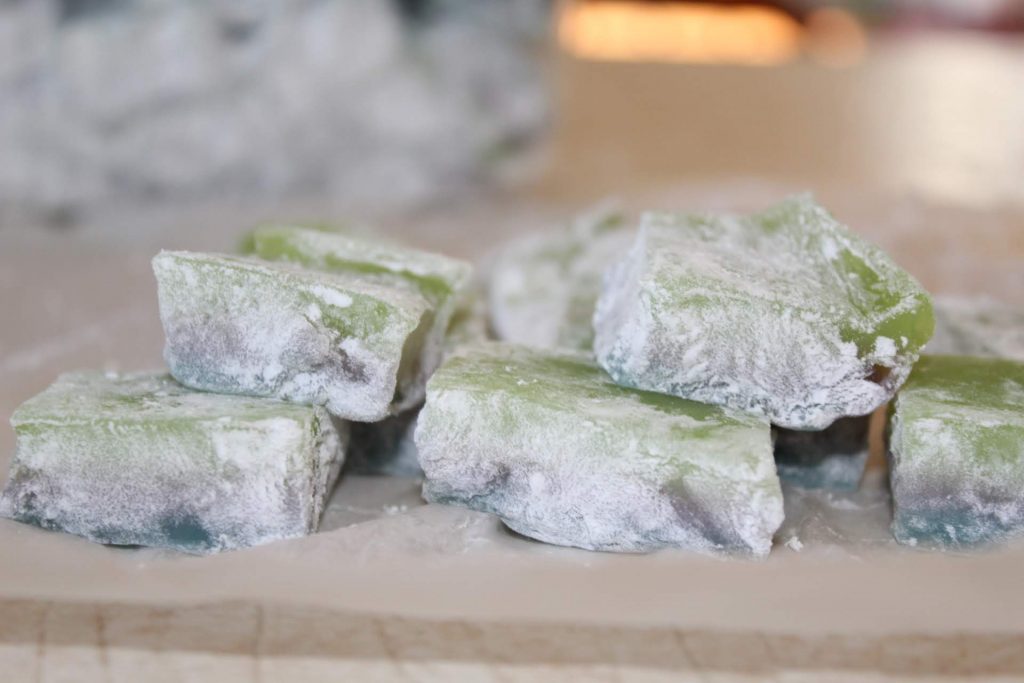
The hardest part for us was waiting for the Mochi to cool. It’s so tempting to cut into it before it is ready, but I promise it is worth the wait! When it is time to cut the Mochi, BEWARE the Mochi will be very STICKY and I HIGHLY recommend using a plastic knife (plastic is better at resisting the stickiness). We cut the mochi in small bite-size pieces making it easier to pop the pieces in our mouth when we want to enjoy. Mochi is more of an enjoy throughout the day dessert and not an eat a large serving in one sitting dessert.
Covering the Mochi
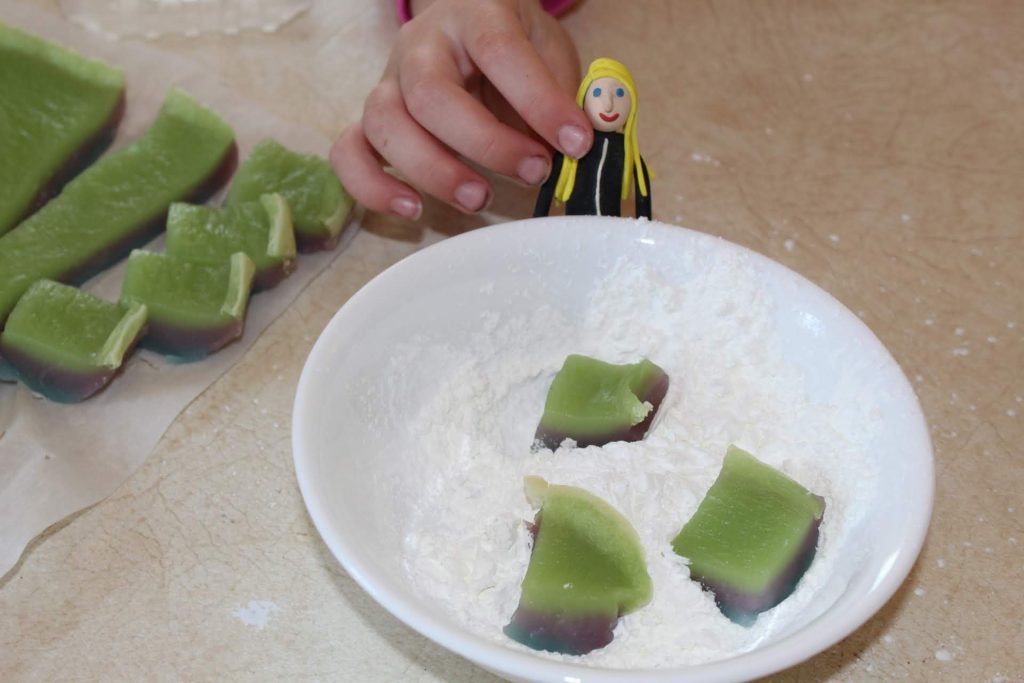
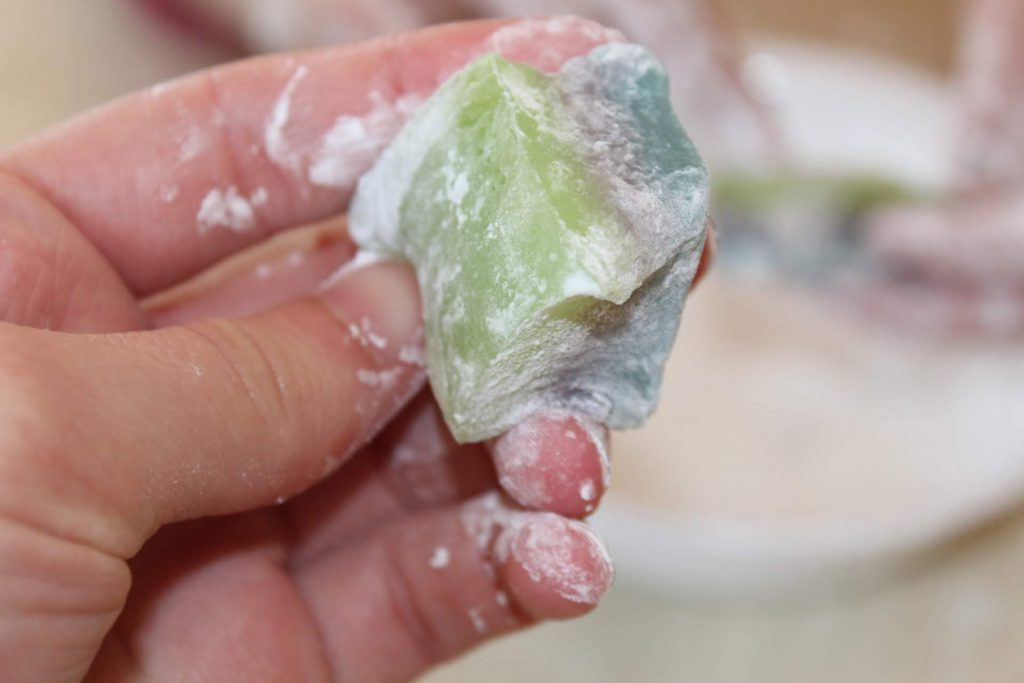
When it came to adding the corn starch we got a little carried away… Apparently there is no need to dunk the Mochi in corn starch and the saying ‘less is more’ is a much better route to take. We ended up taking a piece and lightly dipping it into the corn starch before using our fingers to cover the rest of the piece. The corn starch is being used to make the Mochi less sticky and is not needed for the flavor aspect. As long as the Mochi is covered enough to not stick to your fingers when you grab it then you are doing good!
The fun thing about Mochi is it looks like a sour gummy dessert. Which makes it fun when people try it for the first time and instead of something sour they taste a hidden sweetness. I really can’t describe the taste of this dessert, the flavor is too unique. You’ll just have to try it for yourself!
My sister and I had fun baking this and I hope you all do also! Thank you for joining us on our baking adventure today!
Tri-Layer Mochi
Ingredients
Method
- Preheat oven to 350 degrees. Layer a 9X13 inch backing pan with parchment paper (greasing the pan works also but parchemnt paper makes it easier to take the Mochi out of the pan when finished).
- In a large mixing bowl combine mochiko, sugar, and baking powder.
- In a seperate bowl blend water, coconut milk, and vanilla.
- Gradually add the wet ingrediants to the dry ingrediants. If the ingrediants are combined to quickly it could lead to lumps in the mixture. Mix thoroughly with a whisk or spoon.
- Remove 2 cups of mixture. Add 3 drops of the food coloring of your choice. Pour into the prepared baking pan. Evenly spread the mixture around the pan.
- Cover the pan with foil and bake for 15 minutes at 350 degrees.
- Pour 2 cups of mixture dyed the color of your choice over the first layer. Cover with foil and bake for 20 minutes.
- Pour the last of the mixture (dyed any color) over the 2nd layer. Cover and bake for 30 minutes. This is a great time to clean up the kitchen!
- Cool uncovered, preferably overnight. After it has been uncovered for about an hour cover with a clean dish towel while it finishes cooling.
- Remove mochi from pan with parchement paper and cut with a plastic knife when mochi is completely cooled. (bite size pieces work great).
- Lightly dip each square of mochi into corn starch and use fingers to lightly coat entire mochi slice with starch.
- After coating all pieces enjoy!